The Liquid Shader (3D) is, in principle, the same as the regular URP Lit shader you would use in your Unity project, only reconstructed and expanded. Since the liquid surface is animated by displacing the vertices of its mesh, the shader is meant to be applied to a mesh generated by the Liquid Surface component.
1. Create a new empty GameObject in your scene (GameObject > Create Empty), and add the Liquid Surface component to it (Add Component > Project GAMEDEV > Essential 3D Shaders > Liquid Surface). The Spline Container, Mesh Filter, and Mesh Renderer it needs are added automatically, and the surface starts out as a small, round lake.
2. Shape the outline of your body of liquid by editing the spline in the Scene view, with the spline tools of the Splines package. A closed spline is filled (a lake, a pool, a lava basin), while an open spline becomes a strip (a river, a stream, a lava flow). See Liquid Surface for more information.
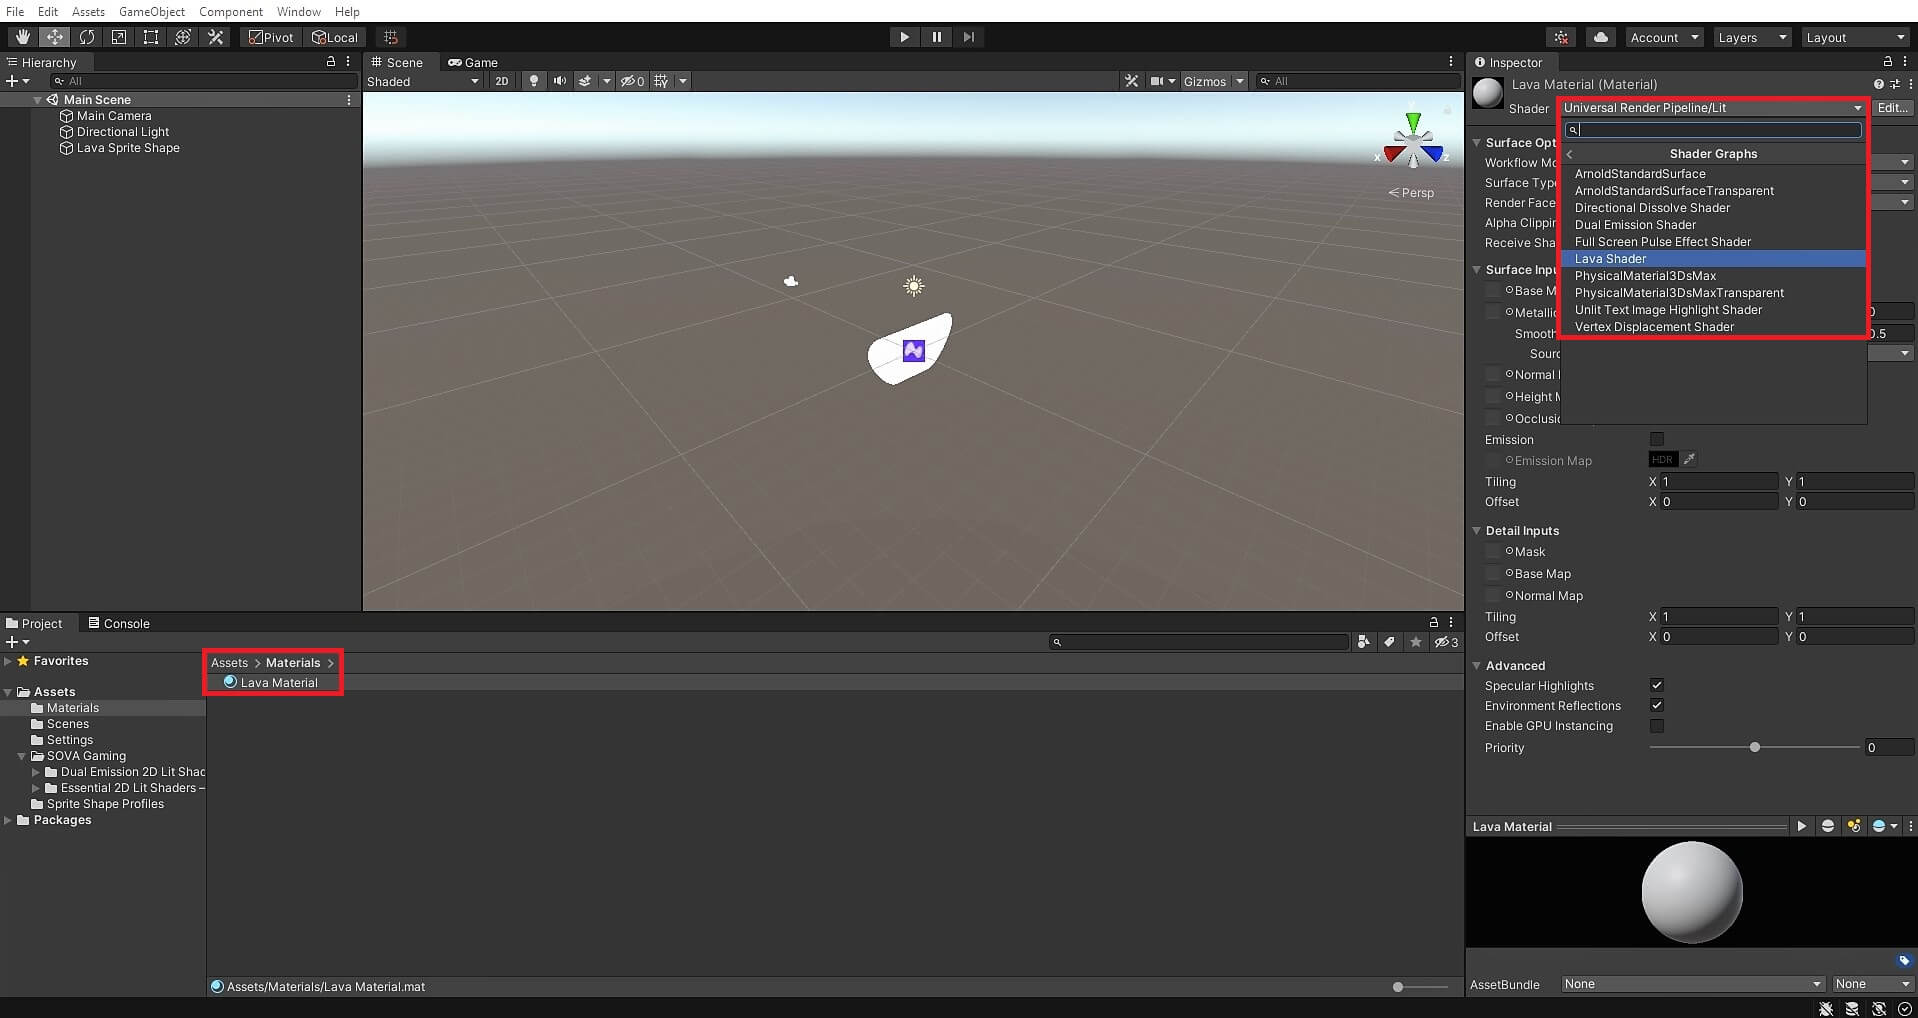
3. Create a new material for your liquid; then, select Project G.A.M.E.D.E.V./Essential 3D Shaders/Liquid Shader (3D) as the shader source for this material.
Assign shader to material
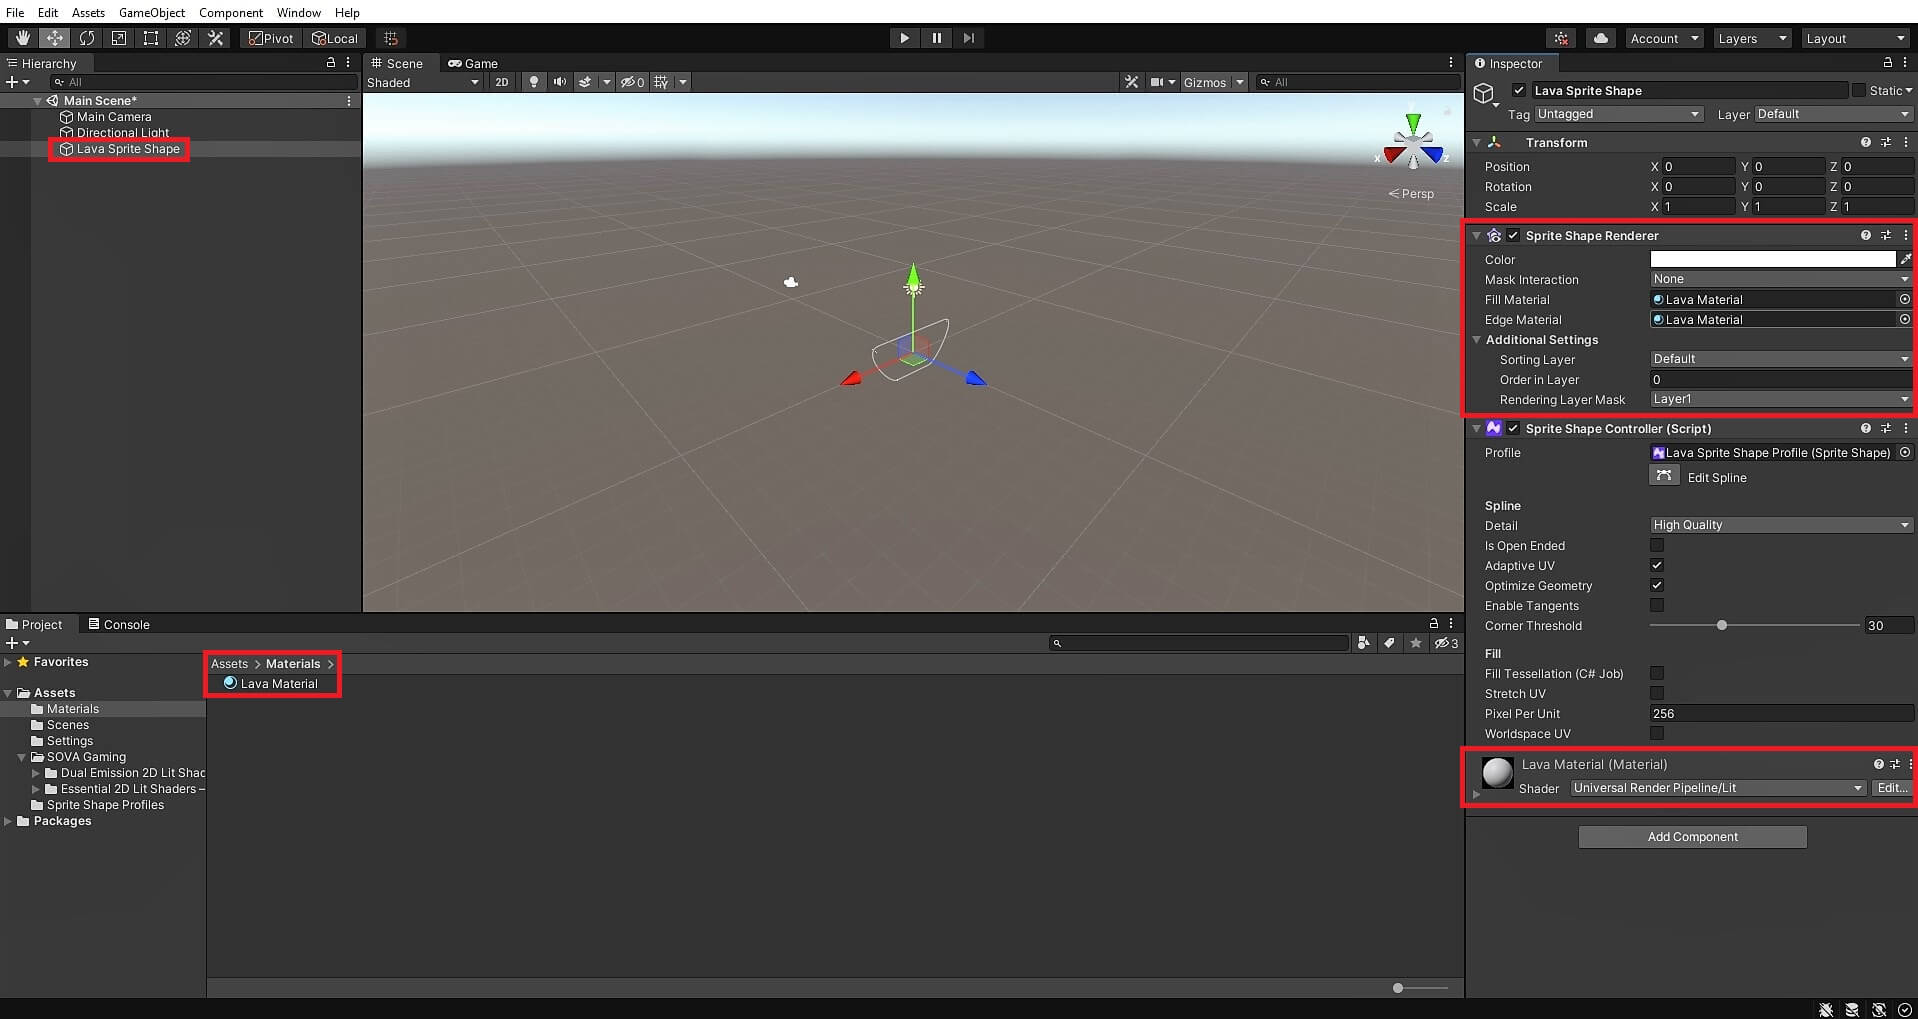
4. Assign the new material to the Mesh Renderer.
Assign material to game object
5. That's it! The shader is now active. Feel free to play around with the material options to find a liquid that you are happy with, start from one of the included materials, or attach the Quick Liquid Setup component to shape the liquid with a handful of controls instead.
Keep in mind that certain post-processing settings (most notably Bloom and Tonemapping) will have a profound effect on the emissive parts of your liquid. The demo scenes ship with the post-processing profiles used to author them, in the Post-Processing Profiles folder.