The Dual Emission Shader (3D) is, in principle, the same as the regular URP Lit shader you would use in your Unity project, only reconstructed and expanded. The setup is thus the same as with any other lit shader.
1. Create a new material for your object(s).
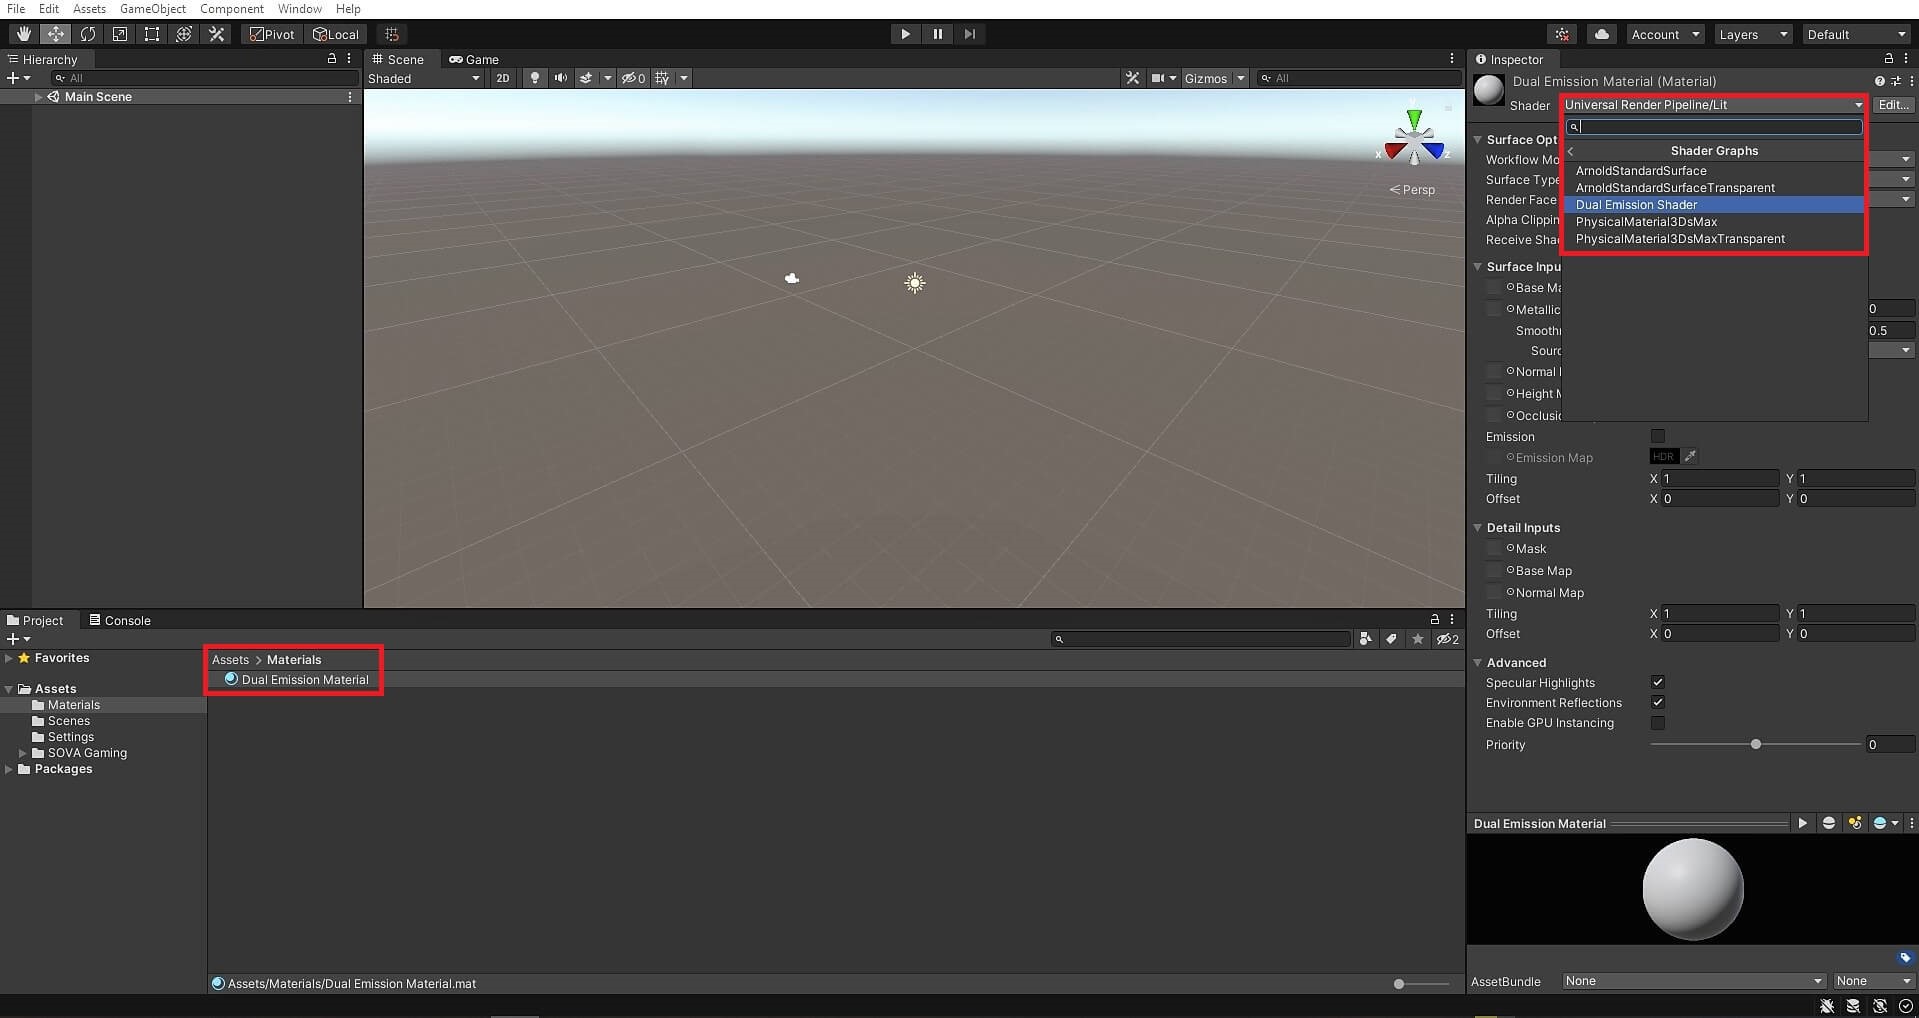
2. Select the material; then, select Project G.A.M.E.D.E.V./Essential 3D Shaders/Dual Emission Shader (3D) as the shader source for this material.
Assign shader to material
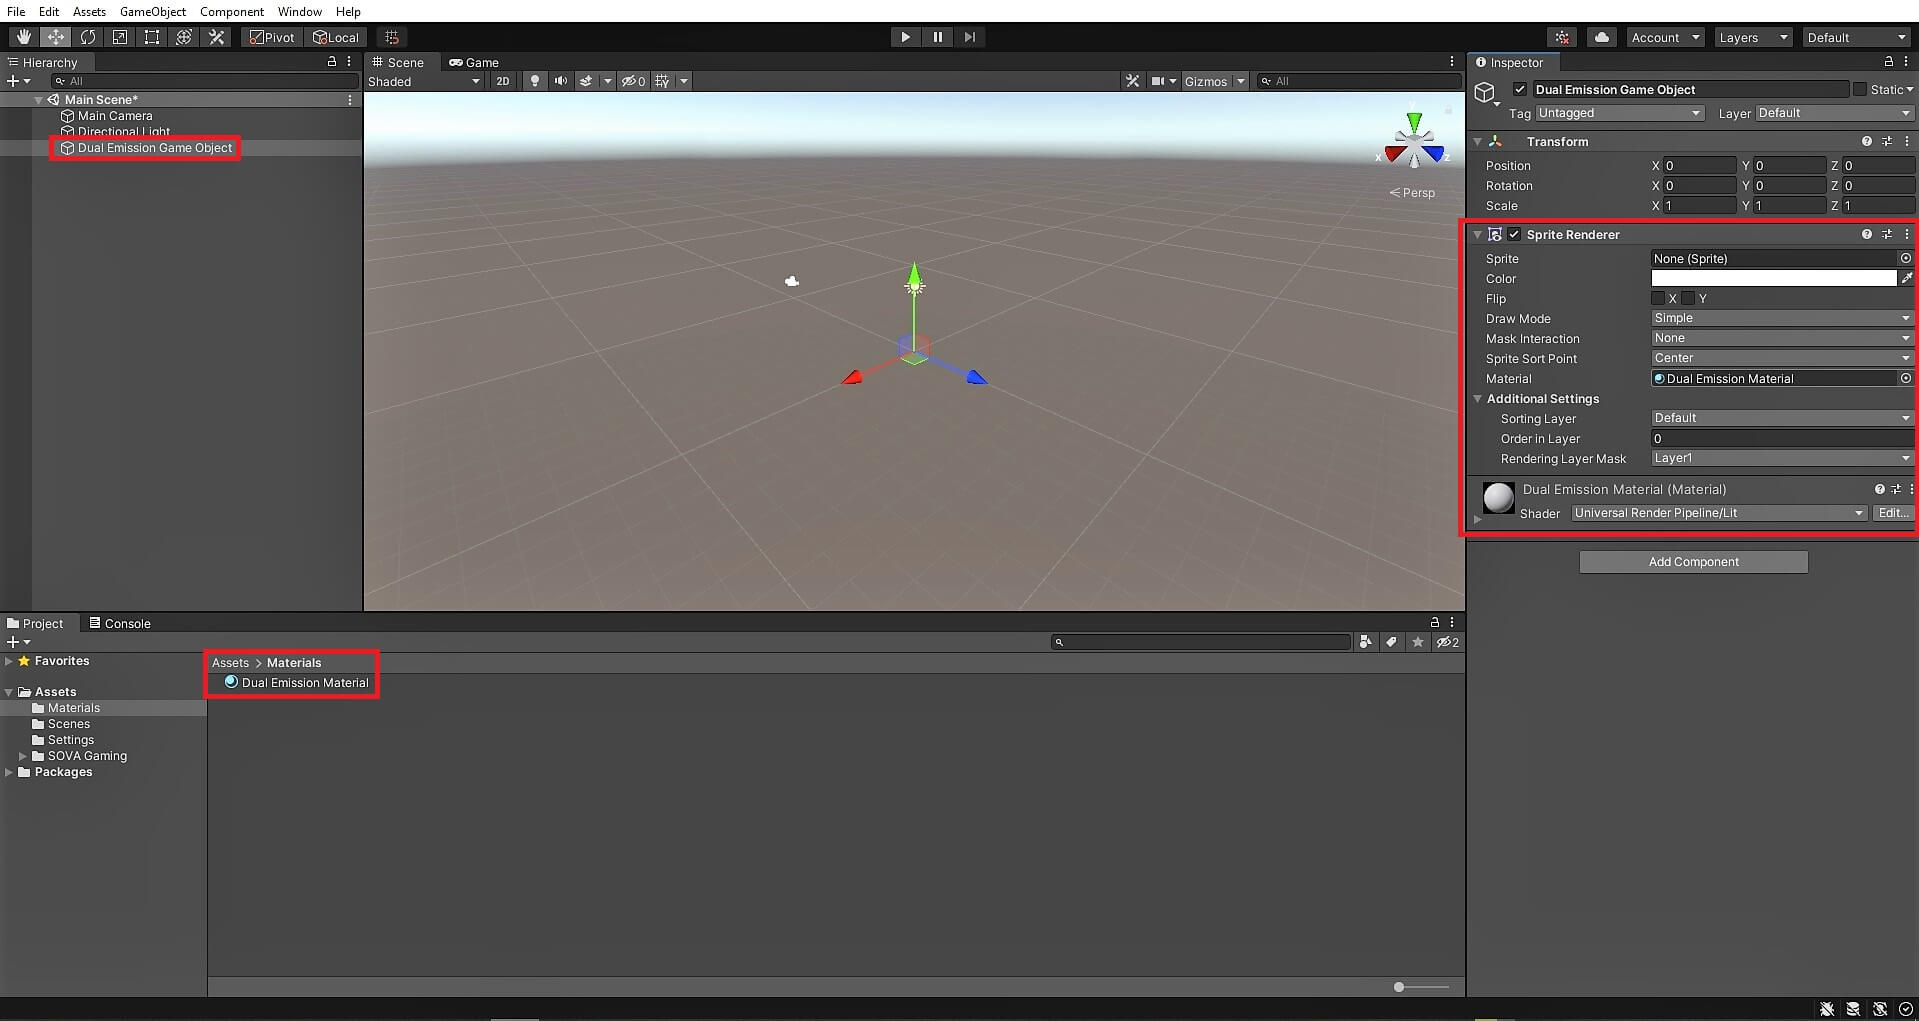
3. Assign the new material to your object(s).
Assign material to game object
4. That's it! The shader is now active. To make your mesh glow, assign a Primary Emission Map and/or a Secondary Emission Map, and pick the respective emission colors – both emission colors are black (i.e., no emission) by default. Feel free to play around with the material options to find a dual emission setup that you are happy with.
Keep in mind that certain post-processing settings (most notably Bloom and Tonemapping) will have a profound effect on the emissive parts of your mesh. The demo scenes use the post-processing profile included in the Post-Processing Profiles folder, which you can use as a starting point for your own scenes.